
GameBrief · General
Subnautica 2 Food Guide: Digestion, Fish, and Easy Meals
Reviewing
Subnautica 2
Unknown Worlds Entertainment
Subnautica 2 food is less about memorizing a long recipe list than understanding one early restriction. The game can let a catch look edible while your current adaptation still rejects it. If you cook or eat the wrong thing before checking that restriction, the result is wasted time in the water and a trip back to the Lifepod or base.
TL;DR: Unlock the Digestion Adaptation before treating local fish as a dependable meal source. Then use the Fabricator for cooked fish, gather Fibrous Pulp for Oily Salad, and leave every long dive with food in your inventory. In co-op, split gathering and processing so each diver is supplied.
Subnautica 2 food? (quick answer)
Unlock Digestion before relying on native fish, then use the Fabricator for compatible cooked meals and Oily Salad. Keep prepared food in base storage and in each diver's inventory before a long dive.
Current status: September 2026
Subnautica 2 remains in Early Access. The official Steam page currently lists the game at $29.99 and shows an English-language rating of 93% from 71,927 reviews, with recent English reviews at 87% from 2,035 reviews when checked for this audit. Unknown Worlds' current patch feed is the right place to check for recipe or adaptation changes because this system can move between builds.
The important correction for this guide is that early fish are not automatically safe food. Current testing and guide references describe Digestive Incompatibility as the warning attached to native lifeforms before the Digestion Adaptation. The steps below separate adaptation, cooking, and renewable supply so you can check which part of the loop you have actually unlocked.
How the food system works
There are three questions to answer whenever you find a possible food item:
- Can your current adaptation digest it?
- Can you prepare it at the Fabricator, or is it a plant ingredient for another recipe?
- Is it a meal for the next dive, or a material you should bring home first?
That order matters. A raw fish in your inventory is not proof that it is a safe meal. Read the item name and tooltip, especially after entering a new area, and do not build a route around a creature until you have confirmed that the current build accepts it.
The Fabricator is the center of the food loop. It gives you a clear place to process catches and plant ingredients, while storage keeps the next expedition from depending on whatever happens to swim past the base. The Subnautica 2 beginner guide covers the same first-session priorities from a broader angle.
Step 1: unlock the Digestion Adaptation
The first major answer to the “why can’t I eat this?” problem is Digestion. Current community guides place the relevant Angel Comb above the Anita Gottschall Blackbox, roughly 160 meters down and around 22.5 degrees from the Lifepod. PC Gamer describes the same general progression as finding the glowing purple or pink pod and using it to obtain digestion enzymes.
Use those directions as a search pattern, not as a promise that every future build will leave the object at the same coordinates. Look for the glowing adaptation pod, verify the interaction prompt, and complete the adaptation before spending a large catch on an experiment. The Subnautica 2 Angel Comb locations guide is the better companion if you want the route broken into navigation landmarks.
After the adaptation, return to a safe area and test one small catch at a time. This is safer than filling your inventory with fish and discovering that a tooltip or recipe has changed. It also makes co-op communication easier: everyone can call out that Digestion is unlocked before the group begins relying on local fauna.
Step 2: cook compatible fish at the Fabricator
Once Digestion is active, use the Fabricator for catches that the recipe screen recognizes. Current food references list Cooked Geordie at +30 hunger and show several other cooked fish recipes, but recipes and values are early-access data. The durable rule is simple: use the Fabricator recipe list in your build as the final authority, and do not carry old numbers into a patch without checking them.
Prepared food is easier to manage than a bag of unnamed raw catches. Process only what you expect to use soon, then keep a small reserve in base storage. If you are going deep, cook before leaving rather than assuming the destination will have a safe, plentiful food source. The Subnautica 2 resources guide helps with the storage and gathering side of that preparation.
Keep water and food planning separate. A full hunger meter does not solve a water problem, and an edible catch is not automatically a hydration item. The Subnautica 2 oxygen survival guide is useful for the other resource that ends dives abruptly.
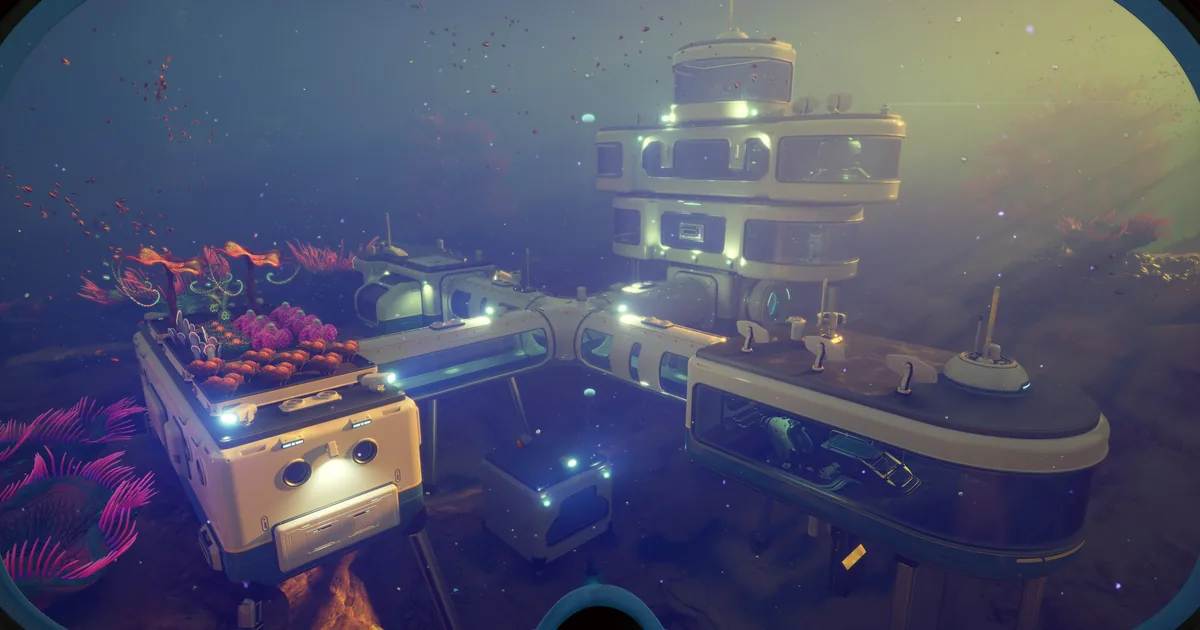
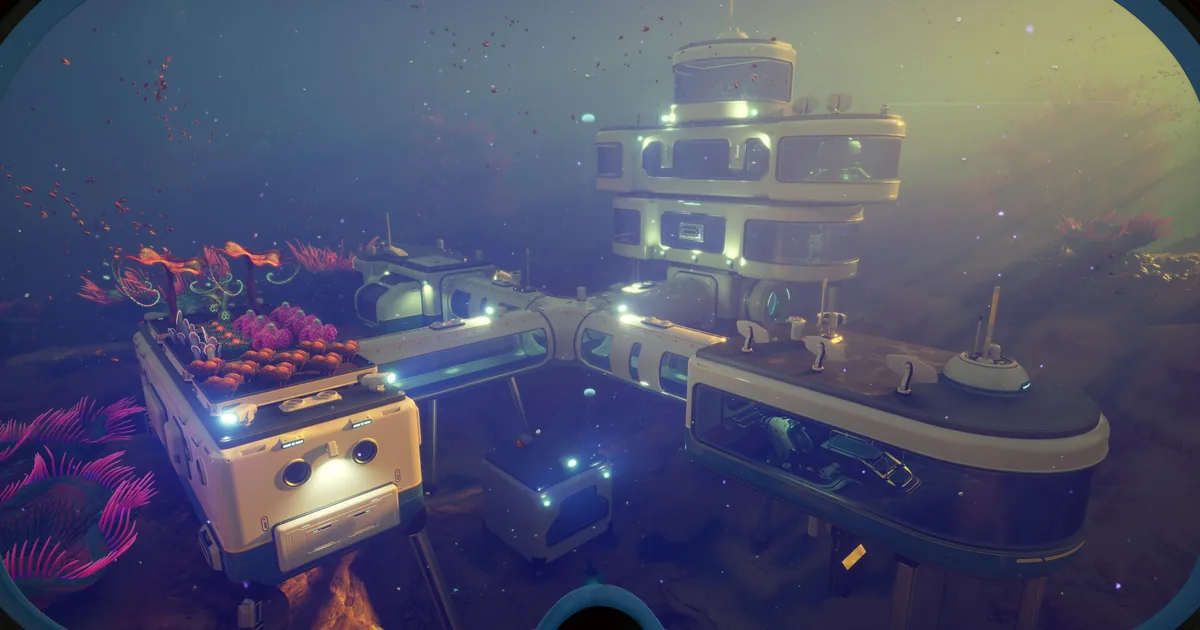
A safe base interior is the right place to stage meals and check the next dive's food plan before leaving.
Step 3: make Oily Salad from Fibrous Pulp
Fish are convenient, but a plant ingredient gives your base a second food route. Current food references list Oily Salad at +20 hunger and describe Fibrous Pulp as the ingredient to grow or gather for that recipe. The exact source location and yield can change, so use the plant identifier and recipe in your current Fabricator rather than an old biome list.
The practical loop is:
- gather Fibrous Pulp when you see it during a safe trip;
- bring it back instead of consuming every plant ingredient immediately;
- make Oily Salad at the Fabricator when you need a compact meal stock;
- keep the ingredients and finished meals in separate storage rows.
This route is especially helpful for a group because it makes food gathering less dependent on four people chasing the same fish. It also gives the base operator something useful to do while the explorers are away. For broader base priorities, see the Subnautica 2 base building guide.
Step 4: build a food station before a long dive
The first useful food station is not a complicated farm blueprint. It is a small, repeatable routine: a working Fabricator, a clearly labeled storage container, a reserve of compatible ingredients, and a place where the group checks supplies before leaving. Add a renewable plant or fauna setup as your current progression makes it available.
Do not make unsupported assumptions about wild-fish depletion or exact respawn timing. If a biome feels empty, treat that as a signal to change your route or bring food from home, not as proof of a universal ecology rule. The Subnautica 2 biomes guide can help you plan a safer expedition, while the Subnautica 2 creature guide covers threats that make stopping to hunt a poor trade.
The second station is expedition storage. Leave a food box near the vehicle or departure point with enough prepared meals for the trip you are actually planning. Do not empty the whole base reserve into one diver's inventory. If the run becomes longer than expected, the group can return to that stockpile instead of improvising in a dangerous biome.
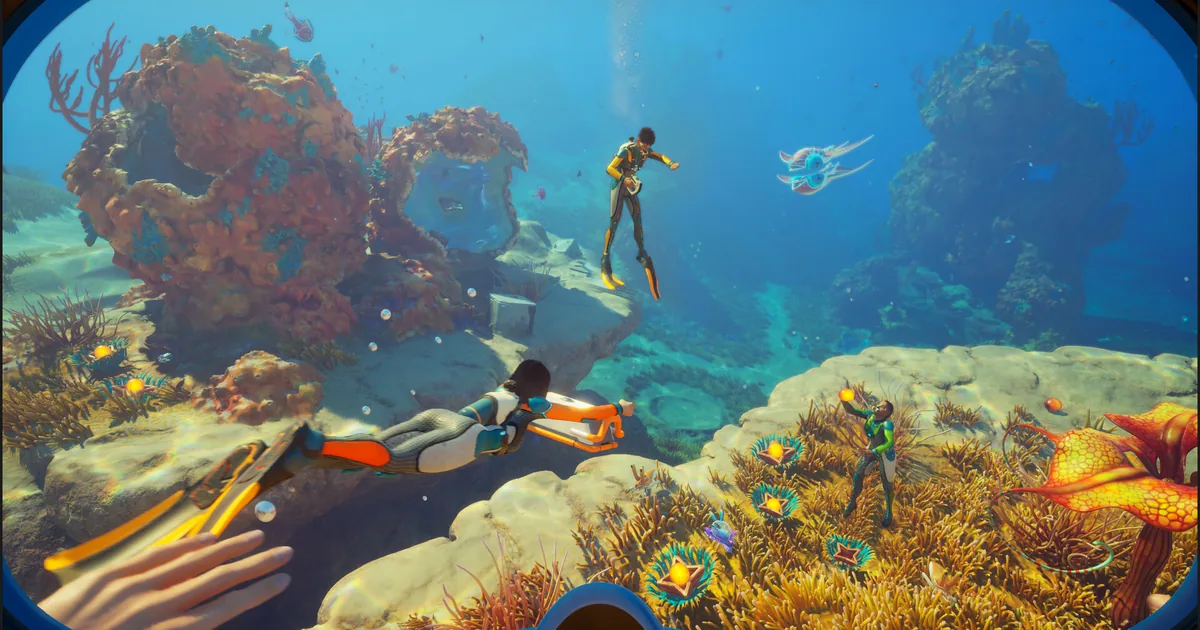
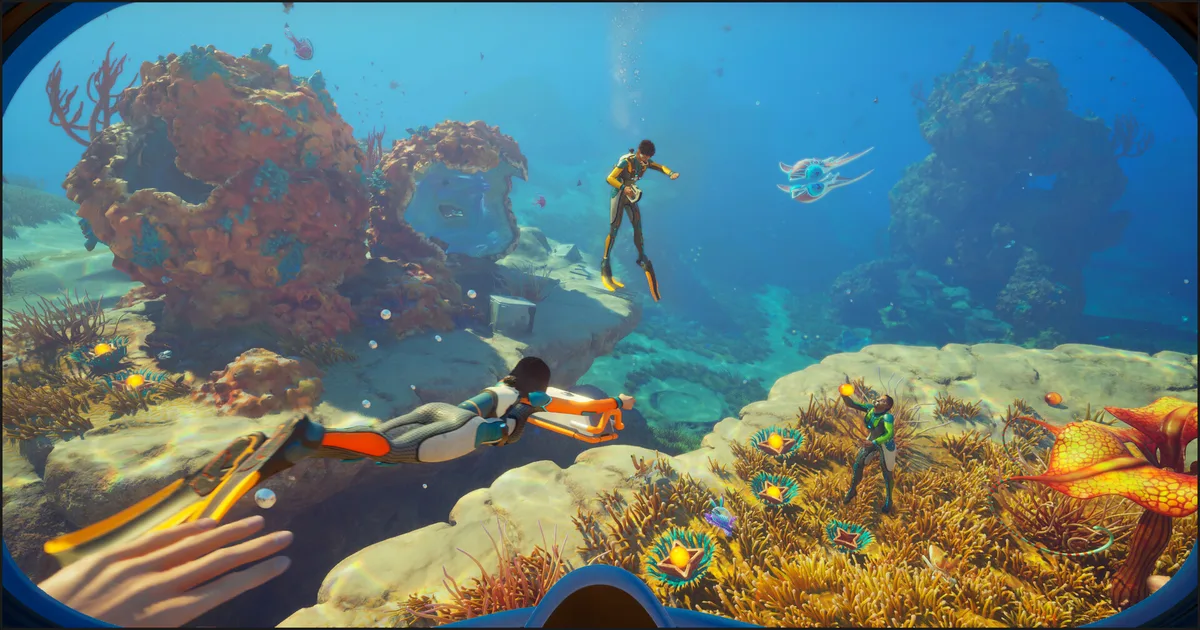
A deeper dive is exactly where an unknown catch needs a tooltip check before it becomes part of the food plan.
Co-op food planning
Subnautica 2 supports online co-op with up to three friends, so a four-player crew needs role discipline even when the food recipe itself is simple. Every player has their own hunger bar. The solution is not to nominate one person as a permanent pack mule; it is to divide the supply chain.
One player can watch base storage and process ingredients. A second can gather plant materials. Explorers can bring back catches and call out when they have unlocked an adaptation or found a new recipe. Before leaving, each player should confirm three things in voice chat: their food reserve, their return point, and whether the group is relying on a recipe that everyone can digest.
When a player says they are hungry, pause before the group pushes deeper. Eating the first unknown item is not a plan. Check the inventory tooltip, return to a Fabricator if necessary, and keep the Subnautica 2 co-op multiplayer guide open for the wider role split.
Deep-dive checklist
Use this list before leaving the starting area:
- Digestion Adaptation is unlocked if the trip depends on native fish.
- At least one prepared meal is already in every diver's inventory.
- Fibrous Pulp or another current-build ingredient is stored at base.
- The Fabricator is powered and accessible on the return route.
- The group knows whether it is hunting, gathering, or simply returning with samples.
- Food is not being confused with water, oxygen, batteries, or vehicle range.
If one box is unchecked, shorten the dive. The Subnautica 2 complete guide hub is the best place to branch into vehicles, resources, and creatures without pretending that one food route fits every build.
Step-by-Step
1. Check the tooltip: Confirm that the item is digestible with your current adaptation before eating or cooking a full stack.
2. Find Digestion: Follow the Angel Comb route near the Anita Gottschall Blackbox and complete the Digestion Adaptation.
3. Test one catch: Bring one compatible fish to the Fabricator and confirm the prepared recipe in the current build.
4. Gather plant material: Collect Fibrous Pulp during safe trips and save enough for Oily Salad instead of consuming every ingredient.
5. Organize storage: Keep prepared food, raw ingredients, and expedition reserves in separate containers near the base departure point.
6. Assign co-op jobs: Give one player processing duty, let explorers return with ingredients, and make every diver confirm their own reserve.
7. Recheck after patches: Read the current Steam news and recipe tooltips before relying on an old value, route, or creature name.
Related Reading
- Subnautica 2 beginner guide
- Subnautica 2 Angel Comb locations guide
- Subnautica 2 resources guide
- Subnautica 2 oxygen survival guide
- Subnautica 2 base building guide
- Subnautica 2 biomes guide
- Subnautica 2 creature guide
- Subnautica 2 co-op multiplayer guide
- Subnautica 2 complete guide hub
References
- Subnautica 2 on Steam: official price, Early Access status, co-op description, and current review snapshot.
- Subnautica 2 official Steam announcements: current patch and hotfix feed.
- PC Gamer: How to digest food in Subnautica 2: current explanation of Digestive Incompatibility, the adaptation pod, and cooked fish.
- Subnautica2.guide food wiki: current recipe and hunger-value reference, including Oily Salad and Cooked Geordie.
- Subnautica2.guide digestion wiki: route and adaptation reference for Digestion.
Was this guide helpful?
About the author

Games Critic
Games writer and reluctant optimist who has reviewed over 400 titles across 9 years. Irish, currently in Berlin. Has strong opinions about tutorial design.
- 400+ games reviewed across 9 years
- Platformer and horror specialist
- Narrative design focus
Keep reading

Disclaimer
This article is published for informational and entertainment purposes. It does not constitute professional financial, legal, or technical advice. Game performance, online services, patch schedules, and store listings change. Verify critical details (pricing, system requirements, regional availability) with publishers and storefronts before you buy. Affiliate links, where present, help support our editorial work and are labelled in our affiliate disclosure.
Comments
Loading comments…